


As a wedding photographer, I always find the night before a couple’s big day filled with chaos as I hunt down space and outlets to charge all my gear. With my busiest year ahead, I knew I needed to make a change.
So, I researched and decided that a DIY camera gear charging station could transform my clutter into a streamlined, organized setup. Not only does it keep my gear in one place, but it also ensures I’m always ready to grab and go.
Here’s how I created my own simple, wall-mounted camera gear charging station using a few budget-friendly supplies from IKEA, Michaels and Amazon.
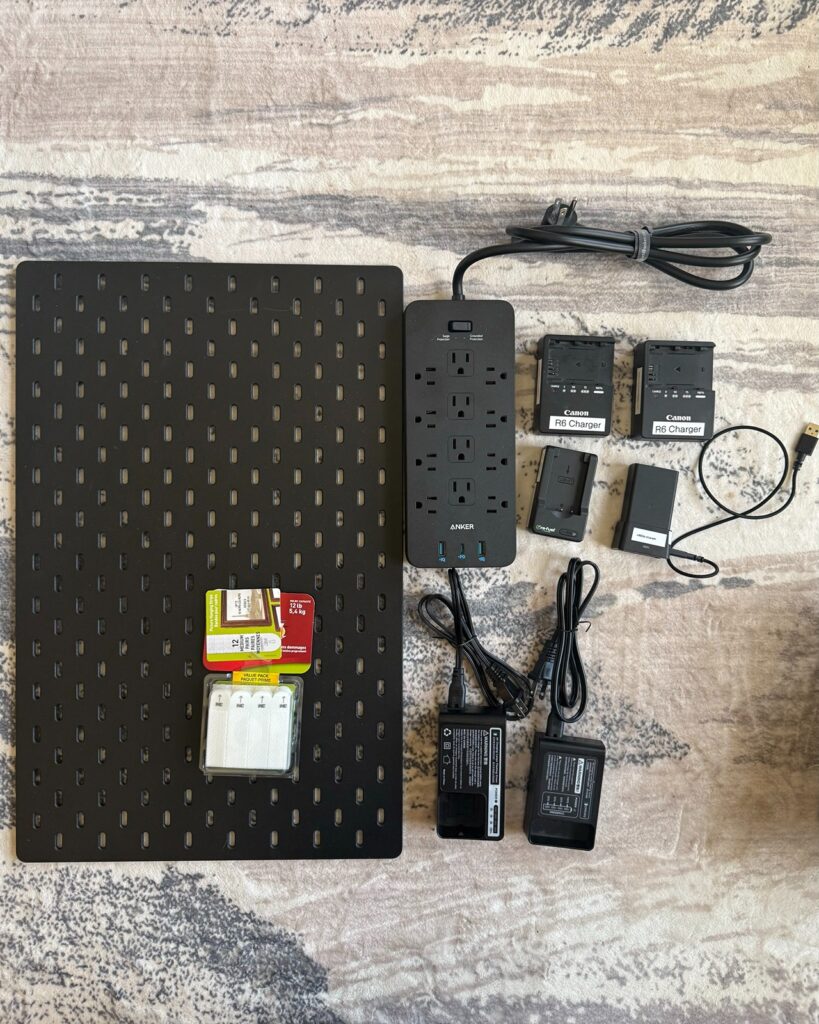
Supplies Used:
- Pegboard
- Pegboard Display Shelf
- Power strip with multiple wide-spaced outlets
- 3M Double-Sided VHB Tape **
- Extra charging cables for my devices
**When I originally wrote this blog post, I used Velcro Command Strips to attach everything, but because of the weight of the items, I found they detached frequently, especially when I plugged chargers into the power strip. I have updated my supply list to include 3M Double-Sided VHB tape to attach the power strip, and purchased a new shelf from IKEA for additional chargers. I will include a new image of the setup below.**
Step-by-Step: Building a DIY Camera Gear Charging Station
Step 1: Plan the Layout
Start by laying all your gear, chargers, and the pegboard out on the floor or a large table. This gives you a chance to play with configurations and figure out what layout works best for your space and needs. Consider how often you use each charger and what needs to be most accessible.
Step 2: Add Extra Charging Cords (Optional but Helpful)
For the chargers that required dedicated power cords, I bought an extra set for each—one to stay attached to the camera charging station and one to travel with. This way, I don’t have to constantly unplug and replug things when packing up for a shoot.
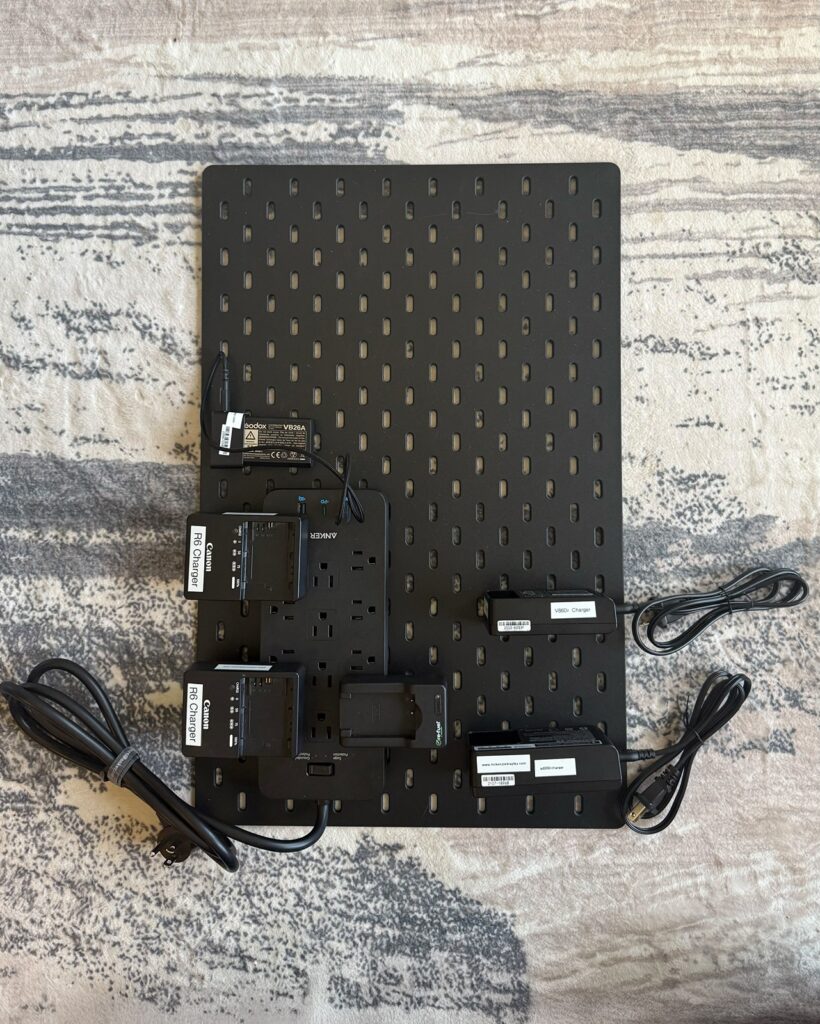
Step 3: Mount the Power Strip and Chargers to the Pegboard
Once I positioned everything, I used strong command strips to attach the power strip and chargers directly to the pegboard. This keeps the setup clean and eliminates the need for drilling. It also allows for easy changes if you want to swap or move chargers.
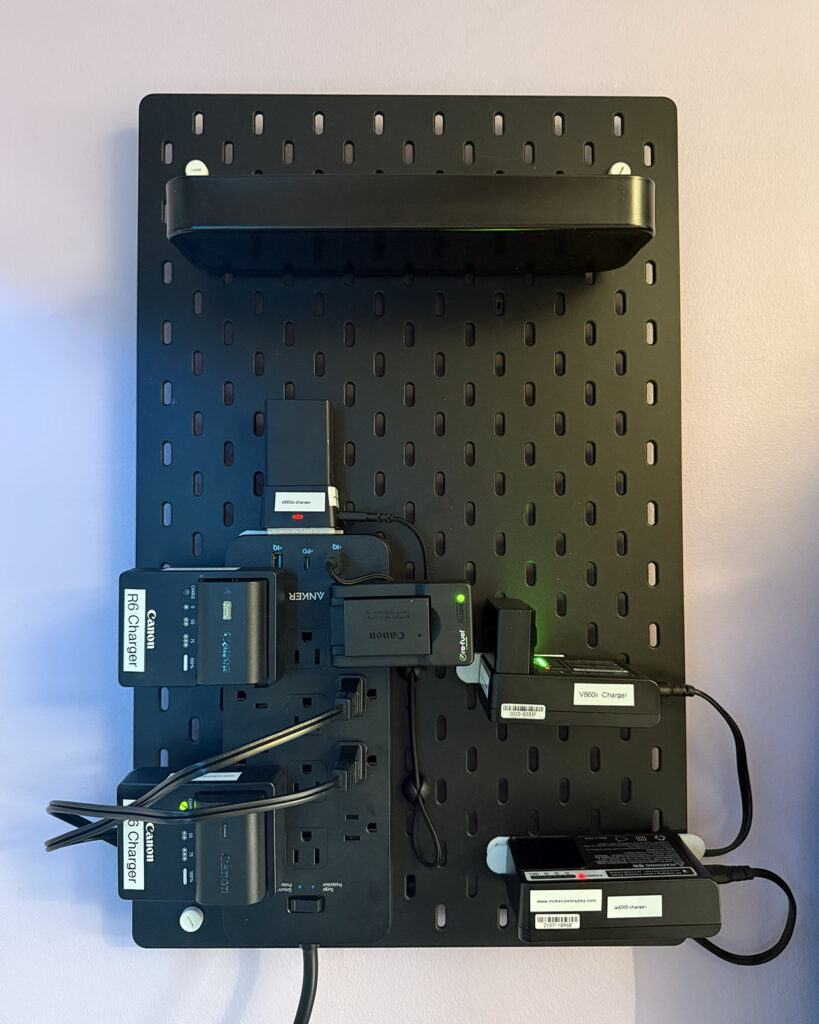
I used two command strips for my Ad200 Pro charger (the bottom right) since the battery is quite heavy on one side. I also used one elastic cord from IKEA to add an extra layer of security because I am the paranoid type!
For the power strip, I used three command strips spread out evenly.
UPDATED INSTRUCTIONS
After a few months of use, I found that when I unplugged or plugged chargers into the power bank, the Velcro would detach. While it’s strong enough to hold the power bank, the movement would cause it to let go.
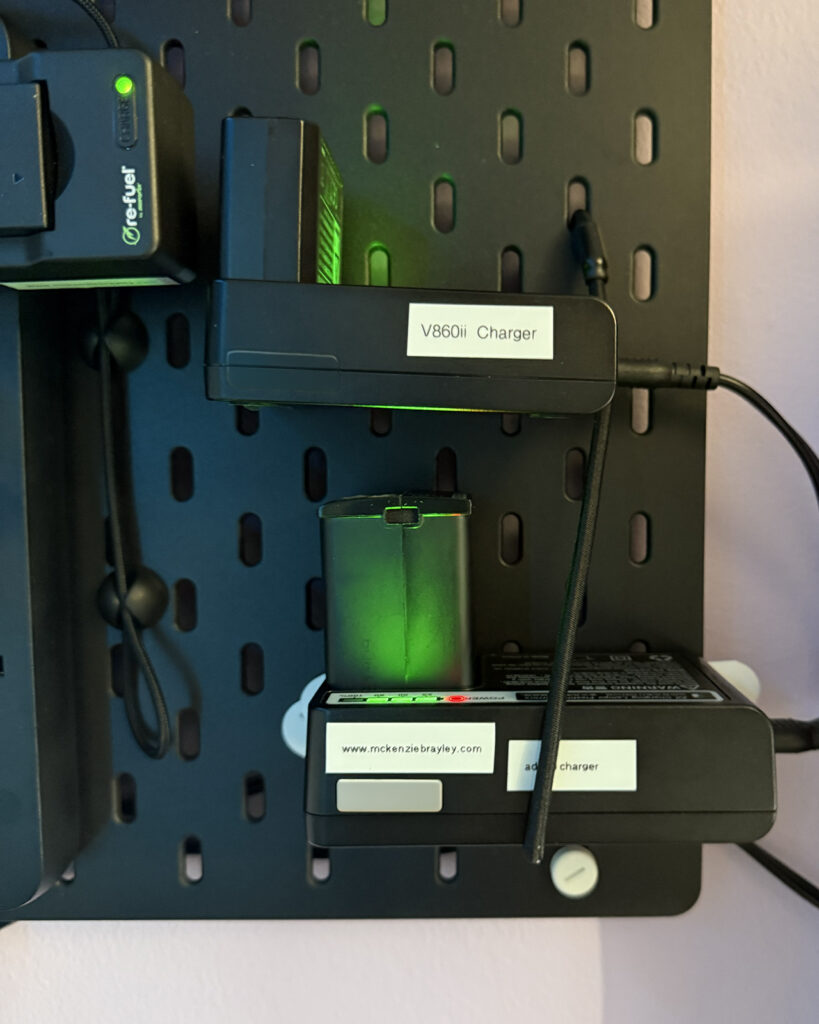
I ended up using the 3M Double-Sided tape to attach the power strip to the pegboard. It will stay permanently attached to the board, and I will pick up a spare one to use when travelling and photographing weddings out of town. As for the Ad200 and my Godox flash chargers, I bought an Ikea Pegboard Display Shelf (SKÅDIS) and set them on there. The charging cords have space to come out of the side of the shelf, and by not attaching them to the wall with VHB tape, I can take them with me when travelling.
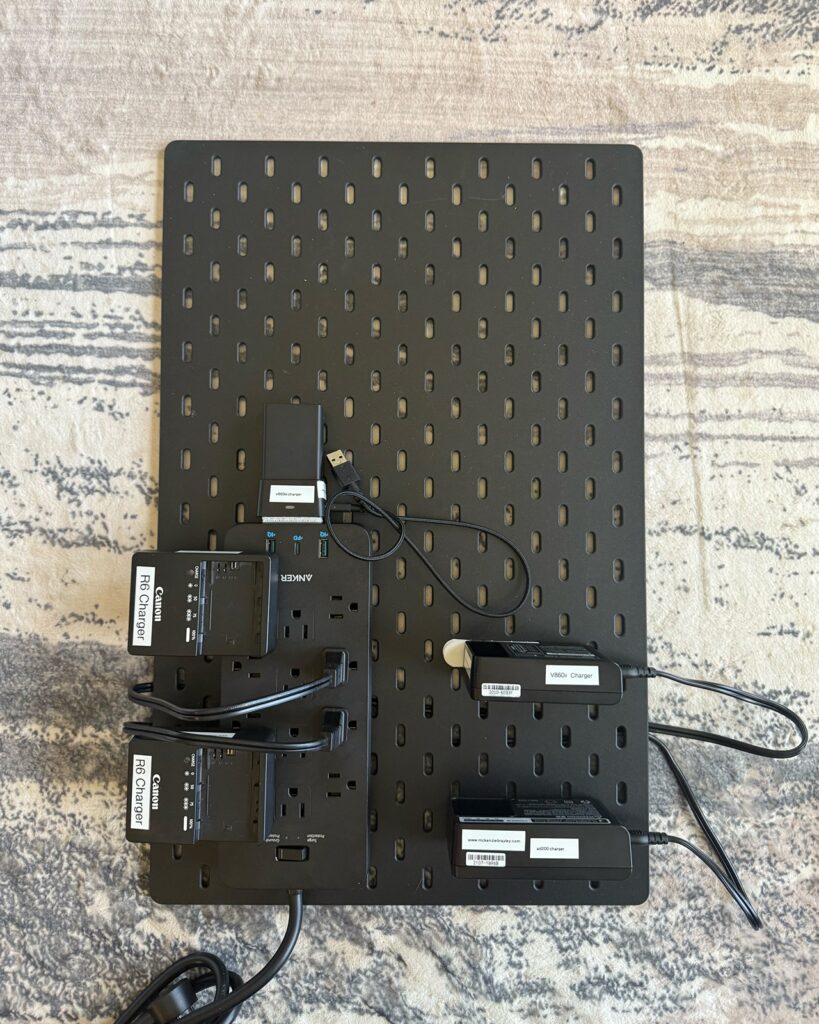

Step 4: Hang It Up and Tidy the Cords
I mounted the pegboard on the wall in my office. To keep it looking neat, I’m going to work on hiding all the cords behind the board. Velcro ties, cable catchers, or clips can help keep things tidy.
The result? A clean, organized camera gear charging station that’s ready whenever I need it.
Final Thoughts
Making your own camera gear charging station doesn’t have to be expensive or complicated. With a pegboard, a few smart accessories, and a little planning, you can create a personalized charging hub that keeps your gear organized and ready to go. Plus, it just feels good knowing exactly where everything is when you’re rushing to get out the door for a shoot.
Got questions or want to show off your setup? Drop a comment below—I’d love to see how your camera charging station turns out!

