


If you’re searching for wedding photography timeline examples, you’re not alone… this is one of the most confusing parts of wedding planning.
Because suddenly you’re asking yourself:
- How long do photos actually take?
- When do we do family photos?
- Do we need a first look?
- Why does everything feel like it takes longer than expected??
And somehow you’re supposed to turn all of that into a smooth, stress-free day.
So instead of guessing, I’m going to walk you through real wedding photography timeline examples for 6-, 8-, and 10-hour coverage, so you can actually see how your day might flow.
(If you’re not sure how many hours you need, you can also check out my guide on choosing the right wedding photography coverage for your day.)
What Actually Affects Your Wedding Timeline
Before we jump into examples, here are the biggest things that will change how your timeline looks:
- Whether you’re doing a first look or not
- Travel time between locations
- Size of your bridal party and family
- Ceremony time
- Whether everything is in one place or multiple locations
If you’re still figuring out how much coverage you need, this breakdown of 6, 8, and 10-hour wedding photography will help you connect the dots between timeline and coverage.

6 Hour Wedding Photography Timeline Example
👉 Best for:
- smaller weddings
- one location or minimal travel
- couples who don’t need full getting-ready coverage
Example Timeline (No First Look)
2:00 PM – Photographer arrives
- Details (dress, shoes, rings)
- Final getting ready moments
2:30 PM – Getting dressed + finishing touches
3:00 PM – Ceremony
3:30 PM – Family photos
4:00 PM – Wedding party photos
4:30 PM – Couple portraits
5:15 PM – Reception begins
5:30 PM – Grand entrance
6:00 PM – Dinner
6:45 PM – Speeches
7:15 PM – First dance
7:30 PM – Cake cutting
7:45 PM – Dance floor opens
8:00 PM – Coverage ends
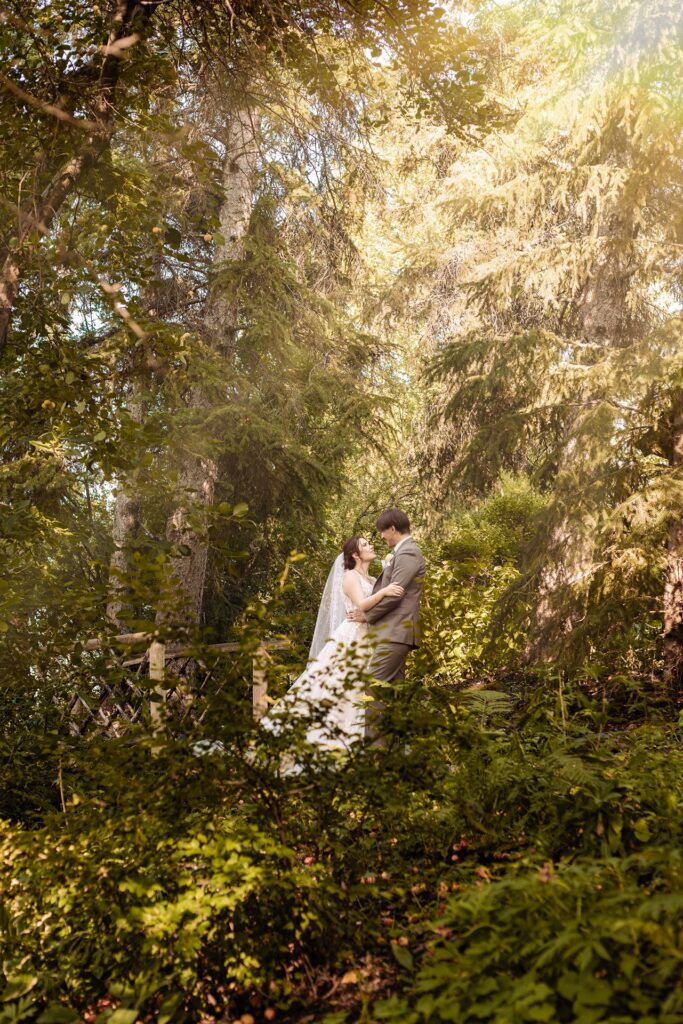

Erin and Drew had their wedding ceremony and reception in one location (Reader Rock Garden). The girls did most of their getting ready at home, and a few finishing touches in a bridal room at the Reader’s Cafe, while the boys got ready off-site. Because there was no travel from a ceremony space to a reception venue or even to go take photos, we were able to capture their entire wedding day in 6 hours.
The Reality of 6 Hours
6 hours goes FAST.
Like… faster than you think.
You’ll likely have to choose between:
- full getting ready coverage
- or later reception moments (like dancing)
With a 6-hour timeline, your reception coverage usually focuses on key moments like speeches, first dances, and cake cutting. There’s typically limited time for open dance floor coverage, which is something to keep in mind when choosing how many hours you need.
It works, but it’s tight.
8 Hour Wedding Photography Timeline Example
👉 Best for:
- most weddings (this is the sweet spot)
- couples who want a more relaxed timeline
- partial getting ready + reception coverage
Example Timeline (No First Look)
12:30 PM – Photographer arrives
- Details + getting ready
1:30 PM – Getting dressed
2:15 PM – Travel to ceremony
3:00 PM – Ceremony
3:30 PM – Family photos
4:00 PM – Wedding party photos
4:45 PM – Couple portraits
5:30 PM – Reception begins
5:45 PM – Grand entrance
6:00 PM – Dinner
7:00 PM – Speeches
7:30 PM – First dance
7:45 PM – Parent dances (if included)
8:00 PM – Cake cutting
8:15 PM – Dance floor opens
8:30 PM – Coverage ends


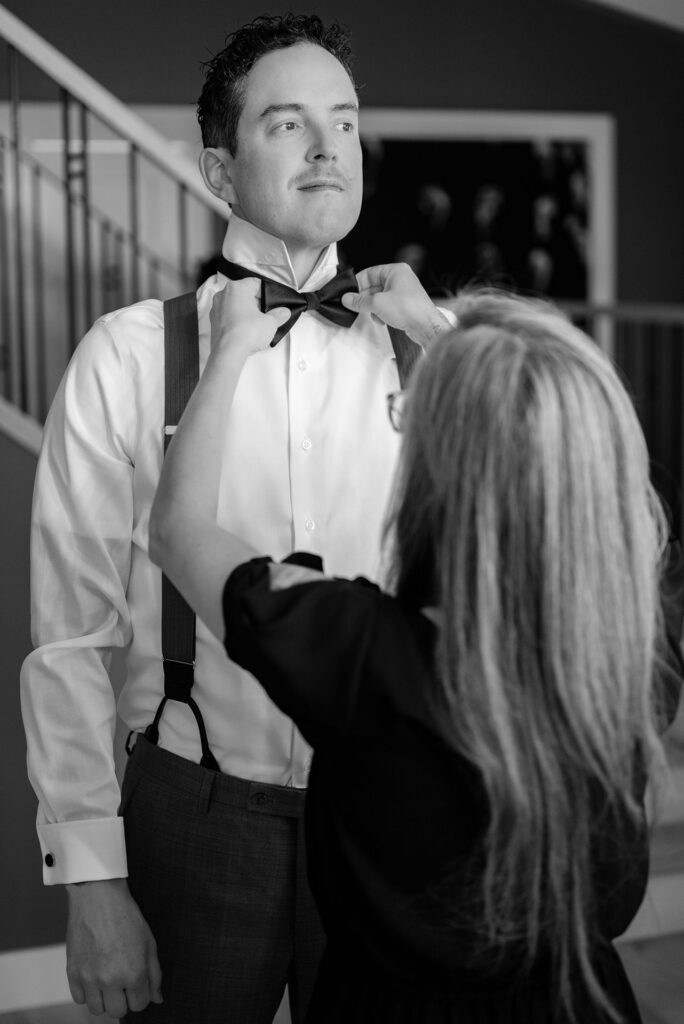
A typical 8-hour wedding day allows me to capture meaningful getting-ready photos (like the black-and-white images shown above) and photograph some dance-floor images before my time wraps up. In some cases, it even means we have enough time to take the groom’s dad’s car out to a nice lookout for some sweet portraits!
Why 8 Hours Is the Most Popular
This is the sweet spot.
You get:
- enough time for everything important
- a timeline that doesn’t feel rushed
- flexibility if things run behind
With 8 hours of coverage, you’re able to capture all of the key reception moments like speeches, first dances, and the start of the dance floor without feeling rushed. It’s a really nice balance between documenting the full day and still keeping your timeline relaxed.
For most weddings, this is the perfect balance.
10 Hour Wedding Photography Timeline Example
👉 Best for:
- full wedding day coverage
- multiple locations
- couples who want the full story documented
Example Timeline (With First Look)
11:00 AM – Photographer arrives
- Details + getting ready
12:30 PM – First look
1:00 PM – Couple portraits
2:00 PM – Wedding party photos
2:45 PM – Family photos
3:15 PM – Finish family photos / buffer
3:30 PM – Ceremony
4:00 PM – Cocktail hour coverage
5:30 PM – Reception begins
5:45 PM – Grand entrance
6:00 PM – Dinner
7:00 PM – Speeches
7:45 PM – First dance
8:00 PM – Parent dances (if included)
8:15 PM – Cake cutting
8:30 PM – Sunset portraits
9:00 PM – Dance floor opens
9:15 PM – Open dancing + candid moments
10:00 PM – Coverage ends
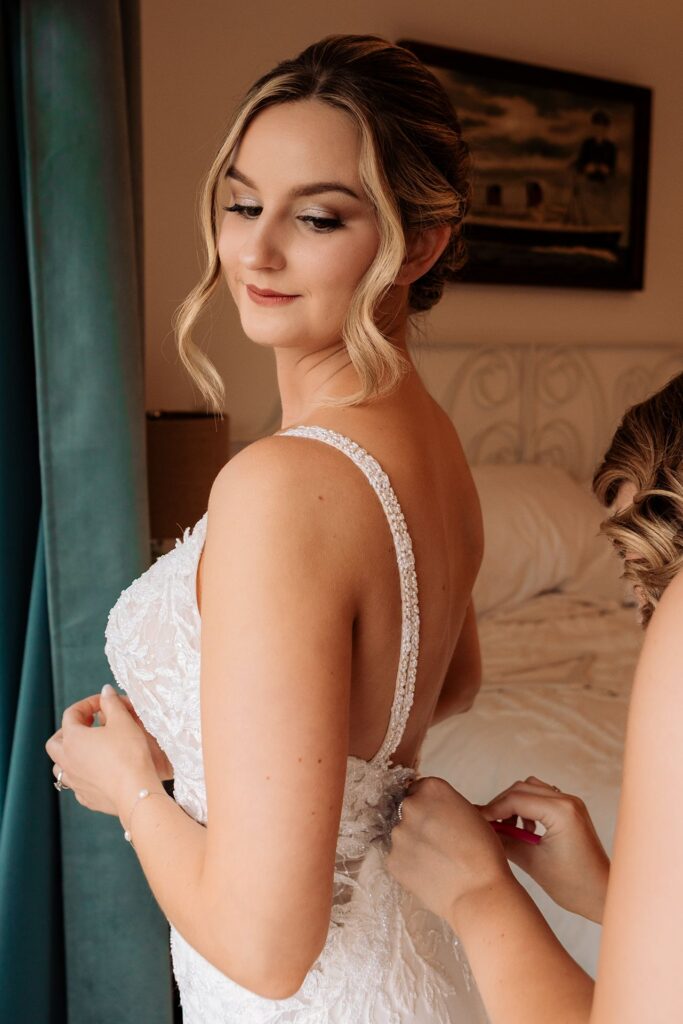


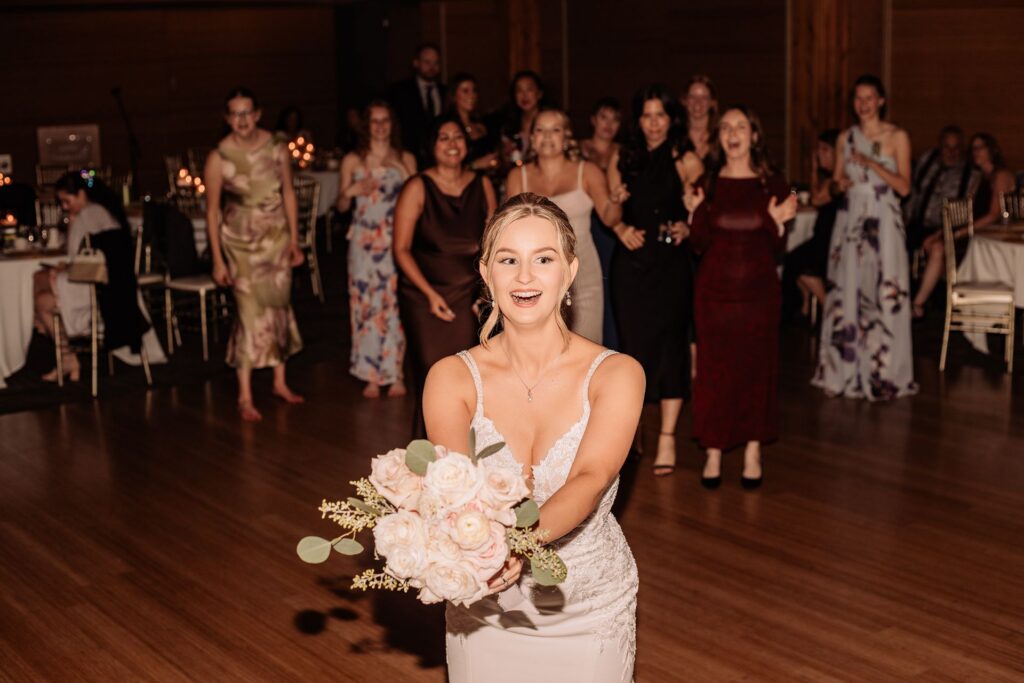

The images above are from two 10-hour wedding days, and each couple had different reasons for choosing longer coverage.
Liane and Shane had a special first dance planned, with Liane’s sister singing their chosen song. And because Liane also chose to get her haircut between the ceremony and reception, the 10-hour timeline allowed them to fit all that in (plus a first look!) without being rushed.
Angela and Dawson wanted to feel less rushed throughout the day, with lots of time for a first look and portraits. We actually had two scheduled portrait times, one before the ceremony and one during the reception!
Both of these longer wedding days also included some fun dance-floor photos, since we were there to capture them.
Why 10 Hours Is Worth It
This gives you:
- a relaxed, non-rushed day
- time for a first look
- sunset photos
- actual dancing coverage
Having dedicated time for both wedding party photos and couple portraits means we’re not rushing through anything. You get those beautifully posed photos, but also the in-between moments that actually feel like you.
You’re not watching the clock all day.
Should You Do a First Look?
Short answer: it depends.
A first look:
- gives you more flexibility
- allows you to take photos earlier
- can make your day feel more relaxed
But if you love the idea of seeing each other at the ceremony for the first time, that works too.

How to Choose the Right Wedding Photography Timeline
Here’s the easiest way to think about it:
- 6 hours → “We want the essentials.”
- 8 hours → “We want a full, balanced day.”
- 10 hours → “We want everything, without feeling rushed.”
Ask Yourself This:
- Do you want getting ready photos?
- Are you doing a first look?
- Do you care about dancing photos?
- Are your locations close together?
- Do you want a relaxed day or a tighter schedule?
Your answers will point you in the right direction pretty quickly.


Final Thoughts on Wedding Photography Timeline Examples
Your timeline doesn’t need to be perfect.
It just needs to be realistic.
The biggest mistake I see couples make is trying to fit too much into too little time… which is exactly how things start to feel rushed.
A few things I always recommend to my couples when planning their timeline:
Give yourself more time than you think you need.
Getting dressed sounds quick in theory, but in reality… it’s not. Buttons, corsets, multiple layers, and helping hands — it can easily take 15 minutes or more. And that’s just one small part of your day.
When you build extra time into your timeline, two really important things happen.
First, if something runs behind (which it almost always does at some point), you have room to catch up later without everything feeling stressful or needing to extend coverage.
Second, you actually get time to breathe. You can snack, sit down for a minute, go to the bathroom, or just be present instead of feeling like you’re being rushed from one thing to the next.
It’s also really important to know ahead of time what additional photography coverage costs.
Have that conversation with your photographer before your wedding day and talk through your must-have moments. That way, if things run late, you can make a quick decision in the moment without having to stop and figure out pricing or logistics during your wedding.
If you’re planning a shorter day (like 6 hours), one of the best things you can do is go straight into your first dance when you’re introduced at your reception.
You can even knock out speeches around this time too (as long as they’re not too long… no one wants hangry guests). This helps make sure your key reception moments are still captured, even if dinner timing shifts. Another option is to spread speeches throughout dinner to keep things moving smoothly.
And one small detail that makes a big difference: have your photographers eat at the same time as you and your head table.
That way, they’re finished when you are and ready to jump right back in to capture anything that happens next.
It also means you can easily sneak away during golden hour for a few extra magical photos while your guests are still busy eating and (most likely) won’t even notice you’re gone.
At the end of the day, your timeline should support your experience — not control it.
Need Help Planning Your Wedding Timeline?
Hi, it’s me 👋
If you’re trying to figure out your wedding photography timeline, I help all my couples build timelines that actually make sense for their day, locations, and priorities.
And the best part?
If you realize you need more time, you can always upgrade your coverage later or even on the day.
Venues seen in this post:
The Calgary Zoo
Fish Creek Park (Bow Valley Ranche Restaurant)
Reader Rock Garden
Pinebrook Golf Club
The Dorian Hotel

